The Glue-On Tabs Wolf Busch „powered by Duplo“
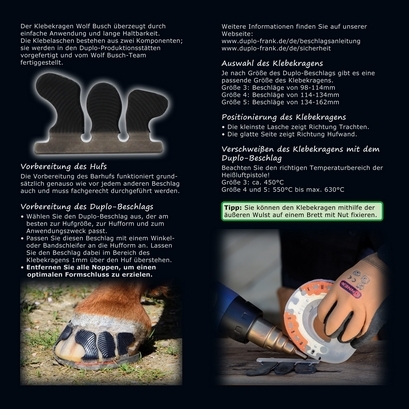
The glue-on tabs Wolf Busch are easy to apply and very durable. Each tab consists of two components; it is pre-produced in the Duplo Production Center and completed by the Wolf Busch team.

Preparing the Hoof
The preparation of the bare hoof is the same as before any other shoeing and has to be done professionally.
Preparing the Duplo Horseshoe
- Choose a Duplo Horseshoe that matches hoof size, hoof shape and intended use.
- Use an angle grinder or belt grinder to adjust the horseshoe to the hoof shape. Leave a protrusion of 1mm where the glue-on tabs will be placed.
- Remove all knobs in order to achieve form closure.
For further information, please take a look at our shoeing instruction and our safety information.
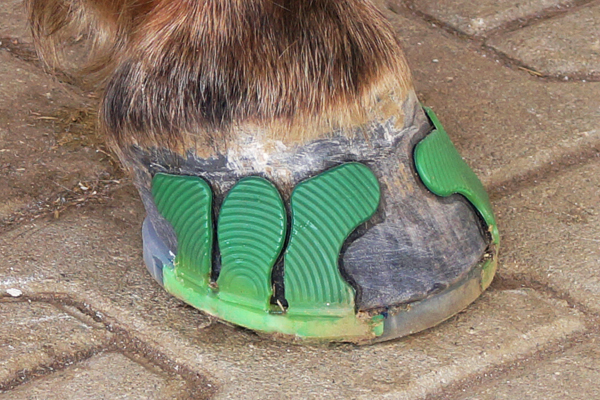
Choosing the Glue-On Tabs
Depending on the size of the Duplo Horseshoe, there's a fitting size of glue-on tabs.
Size 3: Horseshoes of 98-114mm
Size 4: Horseshoes of 114-134mm
Size 5: Horseshoes of 134-162mm
Positioning the Glue-On Tabs
- The smallest tab points towards the heels.
- The smooth side points towards the hoof wall.
 Clipped Horseshoes
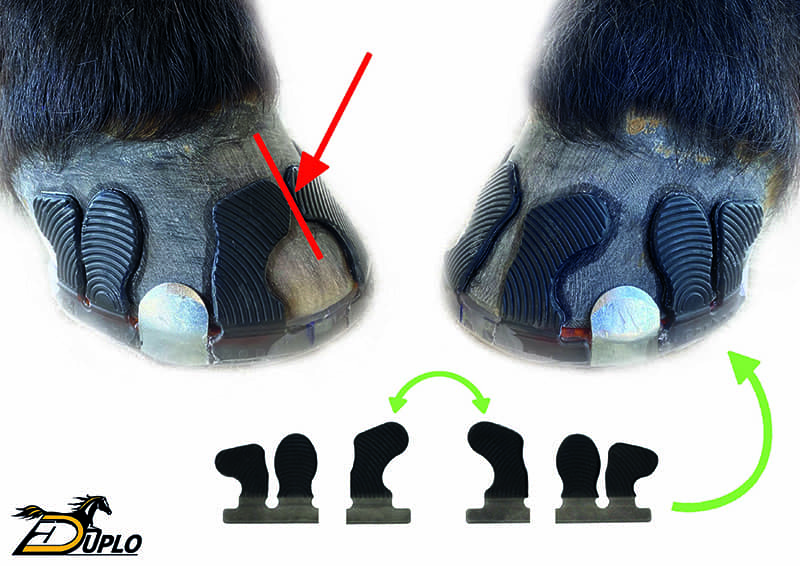
If you want to use a horseshoe with quarter clips, cut between the largest and the second largest glue-on tab. Place the largest tab in the toe area in front of the quarter clip, the two smaller tabs behind the quarter clip.
If there isn't enough room in the toe area and the two tabs overlap, you can switch the left and right toe tab.
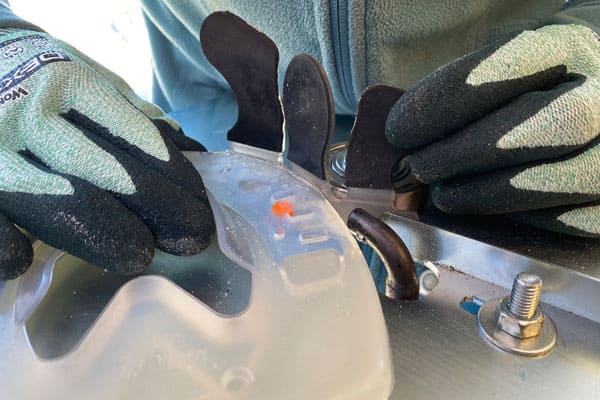
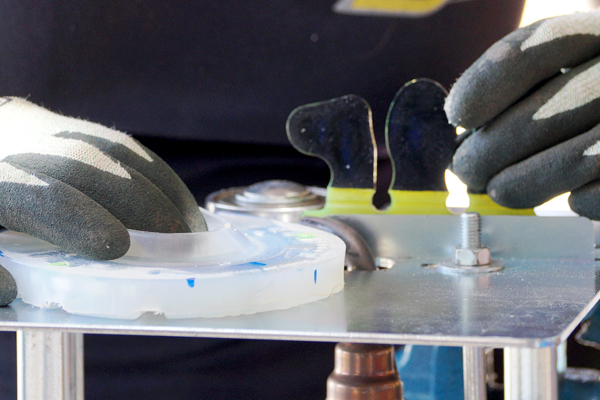
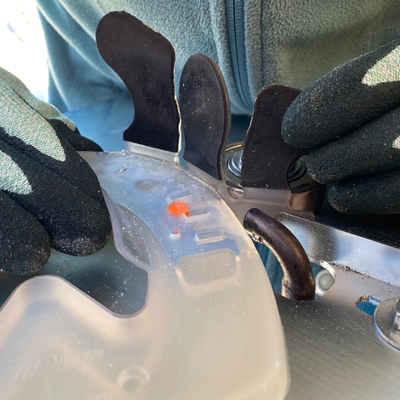
Welding the Glue-On Tabs to the Duplo Horseshoe
Be careful to correctly adjust the temperature of the hot-air gun: 550°C (1022°F) to max. 630°C (1166°F)
- We recommend marking the correct position of the tabs on the horseshoe.
- Slightly preheat the initial welding area until the synthetic material starts glistening.
- Position the horseshoe at 90 degrees to the glue-on tabs. Make sure that the tabs don't reach the profiled area of the horseshoe and that they don't exceed the bottom edge of the horseshoe.
- Slowly but constantly roll the horseshoe over the glue-on tabs.
- Deliberately mark the starting and terminal point by a bit more pressure.
- There should be a small glassy ridge visible along the complete welded edge.

Checking the Fit
- Slide the horseshoe on the hoof from the toe towards the heels. If necessary, you can strut the tabs a little bit apart.
- The front edge of the horseshoe should not be visible any more if looked at from above. If looked at from underneath, the toe should be minimally visible or just out of sight.
- The horseshoe should now be fixated enough to be finely adjusted.
Further Adjusting the Horseshoe
- Round the welded edges off towards the bottom side of the horseshoe.
- If necessary, you can grind a toe rocker that facilitates breakover.
- Add a lateral bevel on the hoof side of the horseshoe in order to reduce the risk of forging.
Final Preparations
- Roughen the hoof wall with abrasive paper (grain size 80-120).
- Degrease the hoof wall below the coronet and the inner side of the glue-on tabs.
- We recommend Multifoam for degreasing (an universal, unique, all-purpose foam spray for cleaning and degreasing). Alternatively, you can use isopropanol of 99%.
Recommendations for Gluing
- Take notice of the final strength of the glue (about 24h).
- High air humidity (rain, fog) doesn't compromise the gluing process.
- If the glue is left open for too long, it will start hardening due to the air moisture and won't be as reliable as usual.
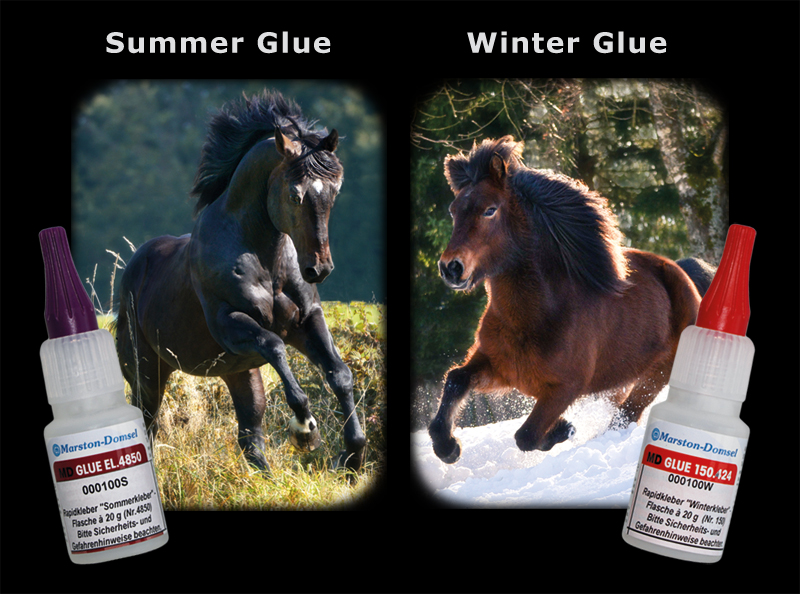
- We recommend the winter glue in case of temperatures below 10°C (50°F).
- The summer glue isn't as reliable in case of temperatures below 5°C (40°F); the secure adhesion of the glue-on tabs on the hoof cannot be ensured.
Gluing
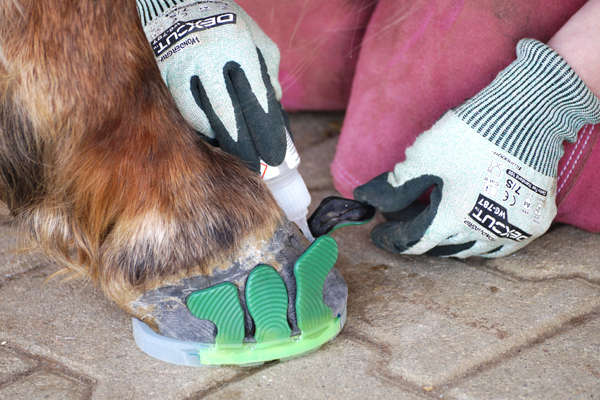
- Wear gloves and respect the safety information for the glue you use.
- Make another person lift the horse's opposing hoof so the horse will keep still.
- Glue each tab individually.
- Strut the tab apart from the hoof wall and apply glue around the edge. Add a cross and four dots.
- Evenly apply pressure to the tab with two fingers, starting from the bottom, for about 10-15 seconds.
- When at least three tabs are glued on (two on one side, one on the other), the horseshoe is well enough fixated on the hoof even if the horse moves.
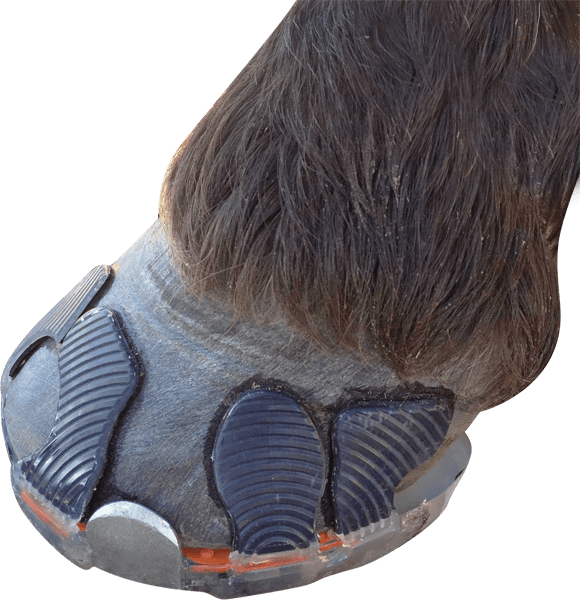 The horseshoe doesn't stay in its position when the horse puts its hoof down?
Option 1: Clipped Horseshoes
The quarter clips prevent the hoof from slipping out of the horseshoe when put down. Application: Cut between the largest and the second largest glue-on tab. Place the largest tab in front of the quarter clip (toe area), the two smaller tabs behind the quarter clip. Very recommendable for the hind hooves!
Option 2: Indirect Gluing
Slightly roughen the hoof side of the Duplo Horseshoe with abrasive paper and put some glue along the weight-bearing edge of the hoof. Then you press the horseshoe against the hoof in its ideal position for about 10-15 seconds. That way, the horseshoe is well enough fixated not to get out of place when the horse puts its hoof down. Afterwards, you can glue on the tabs on the put-down hoof as usual.
Option 3: Gluing on the Lifted Hoof
Glue the first two tabs on while the hoof is lifted; afterwards, you continue gluing with the hoof put down.
Option 4: Gluing on a Hoof Stand
If the horse keeps still in this position, you can position the hoof on the hoof stand while gluing.
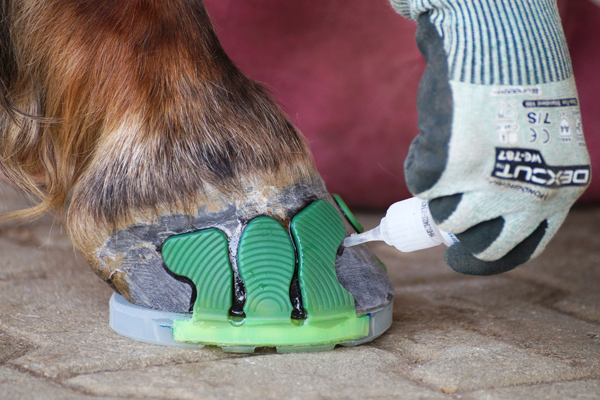
Sealing
Seal the top edge of the glue-on tabs with some glue.
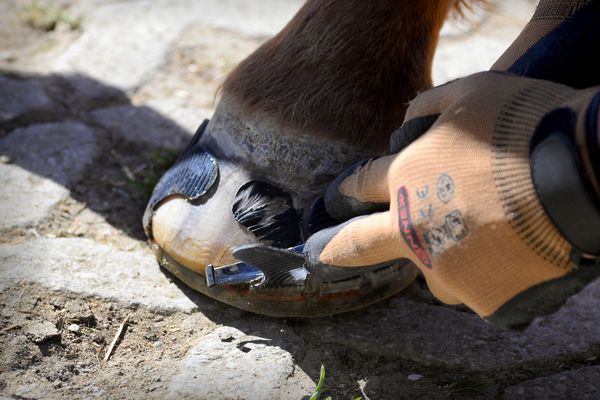
Removing the Horseshoe
The choice of the removing method is at the discretion of the local farrier.
- Hoof Knife: Carefully cut through the compound layer between hoof and tab with a hoof knife, starting from the top.
- Pincers: Shoe pullers and hoof/nail nippers are very suitable for removing the glue-on tabs. Grab the top part of the tab with the pincers and simply pull the tab from the hoof. Please note that, depeding on the quality of the hoof wall and the stability of the glued connection, the hoof wall may be damaged.
- Hoof Rasp: Rasping the glue-on tabs off easy but a little bit more time-consuming.
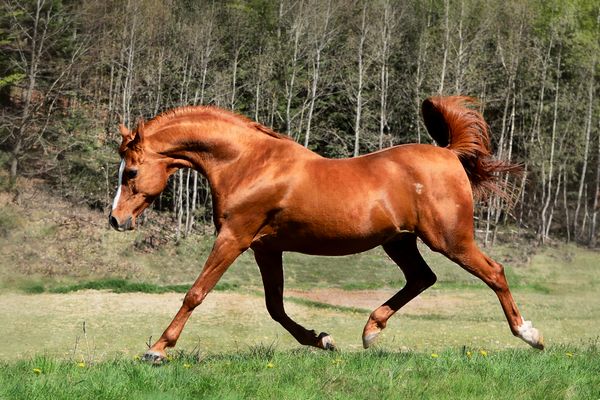
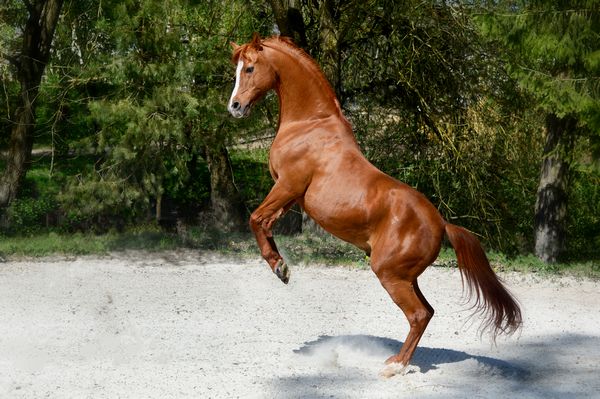
 By the way: The Glue-On Tabs Wolf Busch "powered by Duplo" were developed in the context of Duplo Innovations. Take a look - there are regularly new products available for a favorable introductory price!
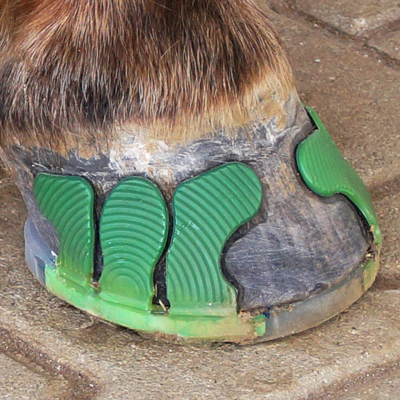 Glue-On Tabs Wolf Busch "powered by Duplo"
 Welding Device
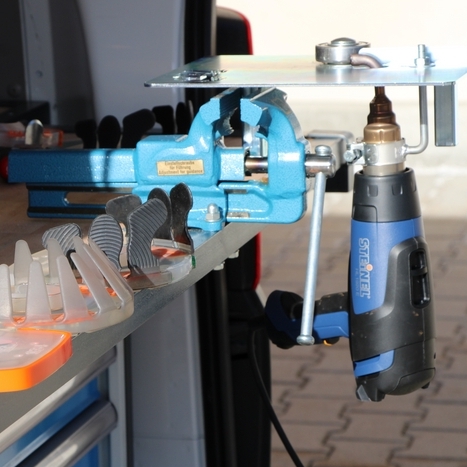 Hot-Air Gun
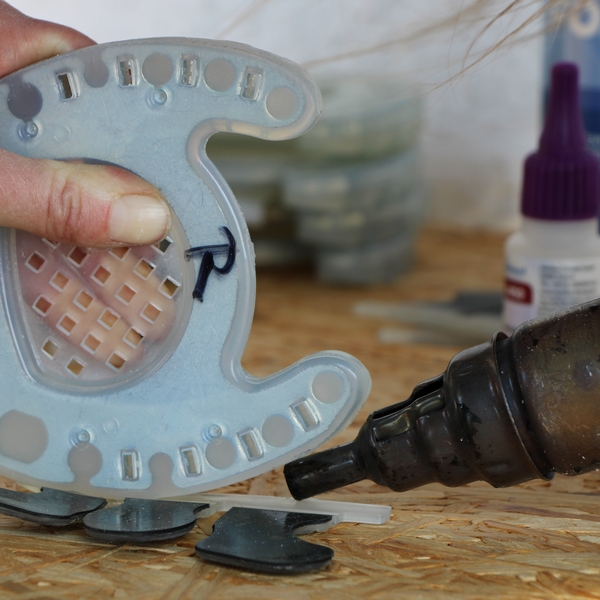 Reduction Nozzle
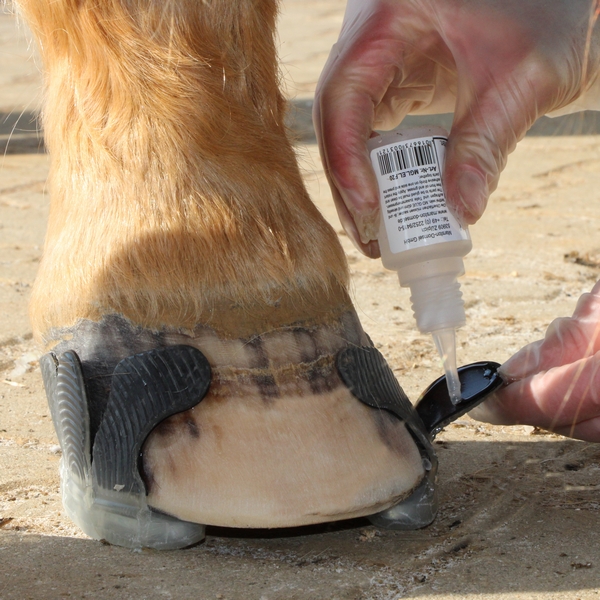 Instant Adhesive
 Flyer "Wolf Busch"
Latest Update: 2022-10-11

