Duplo Shoe Spreader – Safety Warnings and Information
Your safety and the safety of your customers’ horses are very important to us. In accordance with the GPSR, we have significantly expanded our safety information to provide you with the best possible guidance. These safety instructions apply only to the Shoe Spreader and supplement our general safety information.
We have designed this page to be as complete and accessible as possible. However, if anything remains unclear or you experience technical difficulties, please contact our customer service team at any time. We will be happy to assist you by phone at +49 (0)8585/96926-0 or by email at: info@duplo-frank.de.

Please NOTICE that the following safety instructions are not exhaustive. Horses are living and unpredictable animals whose behavior is influenced by numerous factors that we cannot fully predict and certainly cannot fully control.
Section No. 1 – Installing the Shoe Spreader
1. General Safety Instructions and Information for All Mounting Options
PPE – Personal Protective Equipment
Wear suitable personal protective equipment (PPE) when installing the Shoe Spreader.
We recommend wearing suitable protective work gloves.

REFERENCE
This information is available as a download and is also included with the product in printed form.

WARNING
When adjusting a horseshoe, there is a risk of slipping and injury from flying parts.
Choose a work area where you will not put yourself or other people at risk.
Always consider the entire working environment.
If the Shoe Spreader is not securely mounted, it may come loose or move during use.
Make sure that both the adapter and the Shoe Spreader are securely fitted.

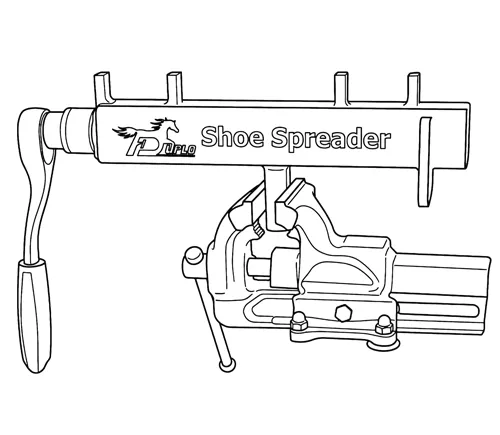
1.1. Mounting the Shoe Spreader in a Vise
NOTICE
No adapter is required.
Clamp the square tube of the Shoe Spreader in the vise until the Shoe Spreader is securely fixed and
cannot wobble.
1.2. Mounting the Shoe Spreader on a Workbench
NOTICE
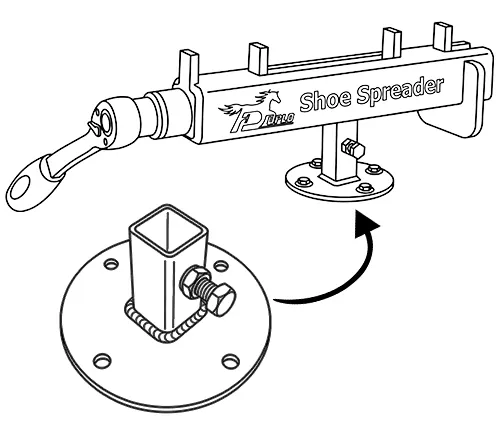
Secure the workbench adapter to your workbench using suitable screws.
Screws are not included.
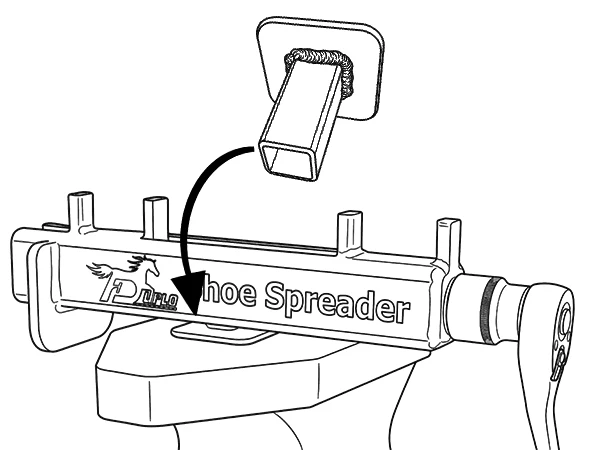
Then insert the square tube of the Shoe Spreader into the adapter socket and hand-tighten the
adapter locking screw so that the Shoe Spreader cannot wobble.
1.3. Mounting the Shoe Spreader in a Hoof Stand
NOTICE
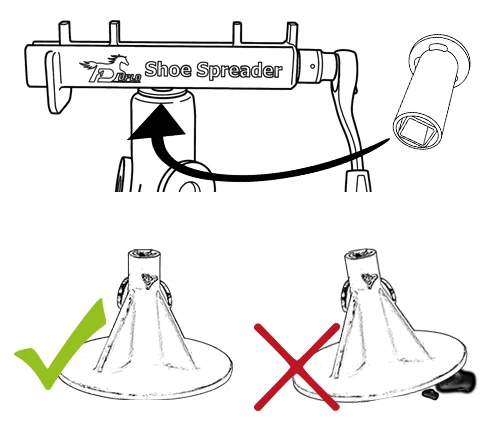
Insert the hoof stand adapter into the socket of your hoof stand and tighten the locking screw until the adapter is securely fixed. The hoof stand adapter is compatible with the Hoofjack® and the Blacksmith hoof stand with a plastic base.
CAUTION
Make sure that the hoof stand is stable and securely positioned.
1.4. Mounting the Shoe Spreader in an Anvil
NOTICE
Whether an adapter is required depends on the size and design of the square hole in your anvil . If the square tube of the Shoe Spreader (2 cm x 2 cm) does not fit directly into the anvil hole, insert the adapter (2.5 cm x 2.5 cm) first and then insert the square tube of the Shoe Spreader into the adapter.
Section No. 2 – Working with the Shoe Spreader
2.1. General Safety Instructions and Information
PPE – Personal Protective Equipment
When adjusting composite horseshoes , make sure you have a stable stance, a safe and sufficiently large work area, and suitable personal protective equipment (PPE).
NOTICE
Only use the Shoe Spreader with a suitable reversible ratchet (12.5 mm | 1/2").
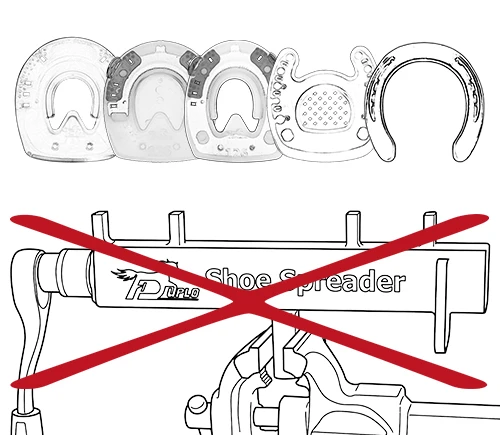
The Shoe Spreader is only suitable for composite horseshoes
with a plastic bar and an open sole area.
The Shoe Spreader is not suitable for:
- pure urethane horseshoes
- horseshoes with a closed sole area
- straight bar horseshoes with a ring-shaped metal inlay
- open-toed horseshoe
- traditional steel shoes
WARNING
Risk of injury from entanglement or crushing!
Keep your hands and loose items such as hair, necklaces, clothing, or similar objects away from the
moving parts of the Shoe Spreader.

Risk of injury from flying parts!
Make sure that the composite horseshoe is securely positioned in the Shoe Spreader and avoid applying
excessive force. Otherwise, the horseshoe may slip and be thrown uncontrollably.
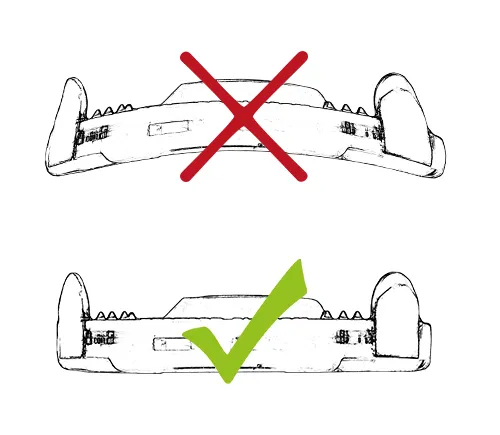
2.2. Check That the Horseshoe Is Flat After Adjustment
WARNING
Before applying the horseshoe, check that the horseshoe adjusted with the Shoe Spreader lies flat to prevent unwanted pressure on the hoof.
Section No. 3 – Care and Maintenance of the Shoe Spreader
3.1. General Safety Instructions and Information
NOTICE
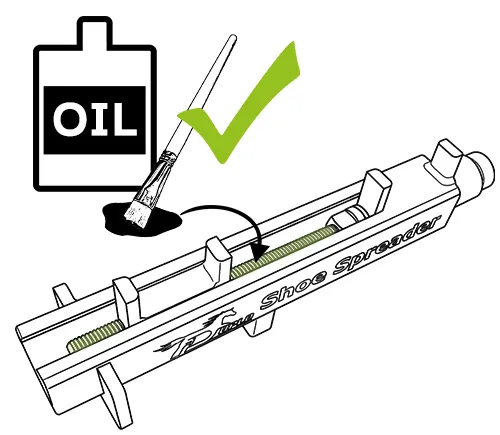
Keep the threaded rod clean and free from dirt and debris.
To ensure smooth operation over time, we recommend applying a small amount of oil to the threaded rod
regularly.
The Shoe Spreader is primed with brown rust-protection paint and finished with gray paint.
The metal parts are not galvanized
.